

Tuesday, December 24, 2019
Monday, December 09, 2019
Christmas Cards
some of the other ones I have made and am trying to get them all addressed and in the mail ....


The one of the Wise men has a background of gold leaf thru a stencil

The red one has glitter paper behind the cutout poinsettias and the background of the ornament is gold leafing ... my gold leafing I use the most is a mix of several colors
Wednesday, December 04, 2019

Monday, November 11, 2019
A day to always remember!
For those that have sacrificed so much to keep our freedom .... Thank You!!!


Monday, November 04, 2019
Art Journal
I have been doing a bit of Art Journaling ...


This is an easy one ... using Tim Holtz collage paper on the roll in a tube, washi tape, stamps, pre-packaged leaves with Tim's crackle paint over them, die-cut copper leaves that have been heated, and regular cardstock die-cut leaves with Distressed Oxide inks to give fall color on them
Thursday, October 31, 2019

Friday, October 04, 2019
More Cards - 2 Christmas
The one in the middle is the same style card as the Christmas card in the other post just done in different color scheme with different trim ... makes for a really different looking card ... oh the paper is from some of my stash about 8 or so years ago ...
The 2 Christmas cards are kind of self-explanatory, I did use 2 sizes of circles die cuts to make the wreath which you might not have known how to do ...

Saturday, September 28, 2019
Doing some Christmas Cards ...
Yes, it's getting close so I need to get more made ...


You can't see the 3 Wisemen very well in the photo but they do show up in real life, the gold is a gold leaf layer on 4" double-sided tape with the stencil then you take the stencil off and add loose glitter to stick to the rest of the tape add the diecut over that ...


Saturday, September 21, 2019
Few Cards
looks like I am in my turquoise phase ... :-)

this is a G45 paper and design I just adapted it some because I was teaching 6 ladies and didn't have everything the original design called for ... also I added a bit of Fossilized Amber to the edges of the card layers to better go with the little tag on the swingarm, I felt like otherwise it just stood out too much

the off white middle lifts and that is where you would write your sentiment, oh I also added an extra 4 1/4" x 5 1/2" off white cardstock to the back layer because I thought it was too flimsy without it

Tuesday, September 10, 2019
Never Forget what happened 9-11-2001
That Day!!!

Now!!!

for all the lives lost and all the family's devastated, we must never forget to stay vigilant in screening who comes into our country!
Monday, July 29, 2019
# 7 of the Altered Book Round Robin
This happens to be the last in the 2019 RR ... the theme of this book was Stencile your Art Out ... so all she asked for was use a stencil with your spread and have some aqua color ...


These are her grandkids, she also wanted bright colors even Neon and I didn't really have Neon except in Gel Crayons that were for my grandkids

This is my favorite stencil and I love using modeling paste with it ...

She is a Mermaid on land so I found these images in my stash, I used the Wink-of-Stella clear pen again on highlighted places but it just doesn't show in photo's, this is a Finnabar stencil and it's becoming one of my favs also
Saturday, July 20, 2019
A couple of more cards
These are using G45 paper Botanical Tea Collection all pattern paper and images are from that collection ... as you will see I used the same image two times because I had two sheets of images and I really liked that particular image a lot ... what doesn't show up is the Wink-a-Stella pen I used on the flowers and birds to give them a bit of sparkle ...

This is the unfolded card on the left


This is the unfolded one on the right


Friday, July 19, 2019


Tuesday, July 16, 2019


Saturday, July 13, 2019
# 6 Altered Book RR
This book's theme was "Pick a Stick" ... pulled sticks from a pouch with Themes and Techniques written on them then you did your spread accordingly ... also we were to do tags to tell what our sticks said ...
Spread #1 was to pull 6 small sticks (Technique sticks) then do your spread, mine was to apply paint with a pallet knife, then your choice (I decided on butterflies to make all the colors go together and give a focal point), then apply crackle medium, then use gesso, then use distressed crayons and make drips .... my tag is used as a tip-in in the middle of the spread


Spread #1 was to pull 6 small sticks (Technique sticks) then do your spread, mine was to apply paint with a pallet knife, then your choice (I decided on butterflies to make all the colors go together and give a focal point), then apply crackle medium, then use gesso, then use distressed crayons and make drips .... my tag is used as a tip-in in the middle of the spread

Spread #2 was take a Theme stick then pull 6 small Techniques sticks, mine Theme was Asian, small sticks were use fabric, use fiber, use a spipple brush to add color, make a pocket, use a stamped image, use tissue paper ... my tag was put in the pocket which is sticking out at the top right corner behind the image of the Asian tattoed man

Monday, June 10, 2019
#5 of the Altered Book RR
This theme was Vintage Sewing and is done in a Vintage Sewing instruction book ...


guess this isn't really Vintage but it just kept saying I need to go in this book ... so I put it in the book!

This has lots of Vintage items ... the right side spread is a diamond cutout with an "S" stencil covered in pattern paper, then adhered over the cutout so you can see the other side as well ... the German thread spool is attached to the side of the page

This side you can see more of the cutout ... and then the right side is the finish of the 3-page spread with real zipper and some snaps
Monday, May 27, 2019

Monday, May 06, 2019
Altered File Folder - start to finish
Yes I know I promised this a couple of months back BUT life got in the way ... so now I have deleted that post and this is one that goes from start to finish...
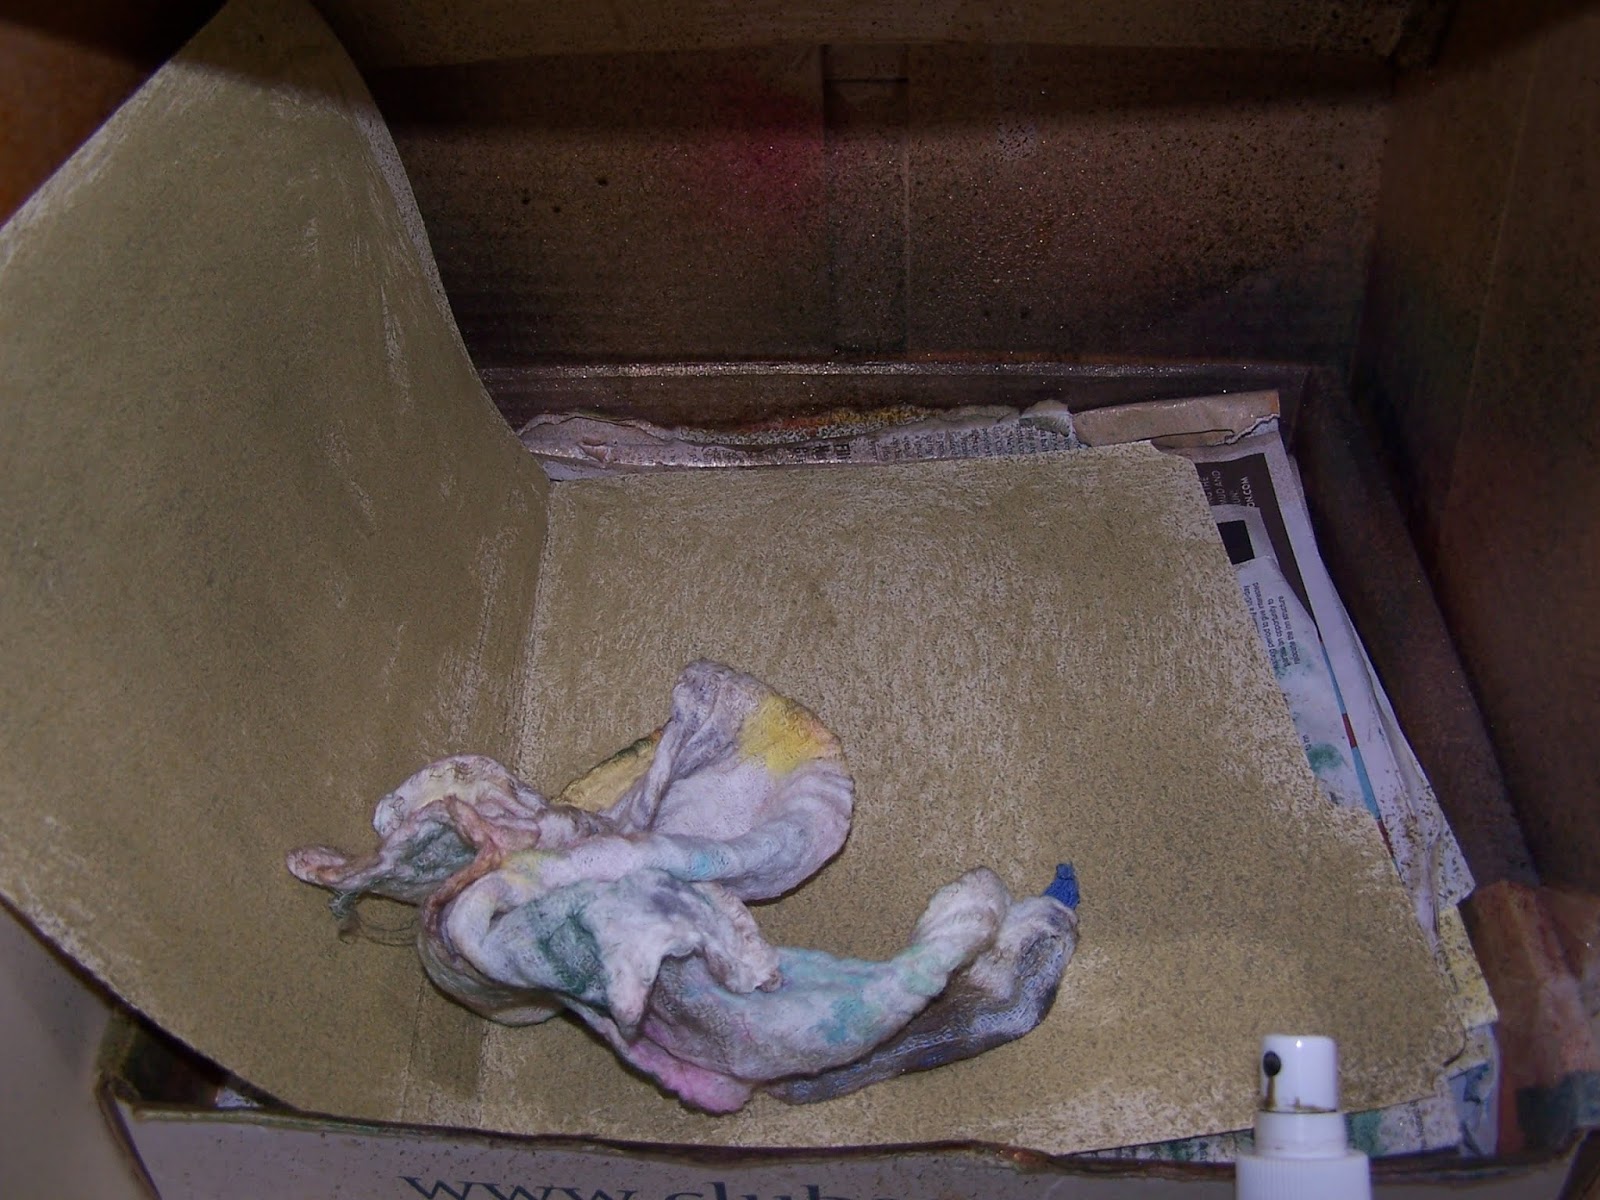
1. I used old manilla file folder with tabs but you can use any of them that don't have a plastic coating ... I took my spray inks and spray box out to the garage and did it up good ... I didn't like the splats it produced and didn't leave much solid coverage so I got a gauze rag I had and started kind of spreading the ink around ... I kind of splatted it also from my re-inker bottle ... I wanted an aged look, you could also do coffee spills, rings and such ... then spray for a more antique look
OH, I have used several images of folders they are NOT of the same folder going thru all the stages ... as always click on the image to enlarge


2. Then take the dry folder to the paper cutter and cut it in half ... yes only one side will have a tab unless you happened to use the folder with the middle tab


3. Now take these to your craft sewing machine and sew around the edges so you make a pocket out of the 1/2 folders ... I chose to use zig-zag and straight stitches ... because the bottom was a fold I didn't stitch around that and I left long strings on both ends for my stitches ... then I did the edges with more ink


4. I pulled out things I thought would make me happy and started arranging them to please my eye and glued them down to the front of the folder ... I ended up making 4 of them they are so much fun to make and I used up lots of my extras from other projects ... I put a long envelope that I cut the end off of and put a notch in it to have a place for other things, down first then built on that ...


Now go make some that you can enjoy .... oh the lady that is on all of them happens to be from a deck of cards I got several years ago from ArtChix and not sure you can get them anymore ...
Subscribe to:
Posts (Atom)